SEEHÜTTE10
SEEHÜTTE10
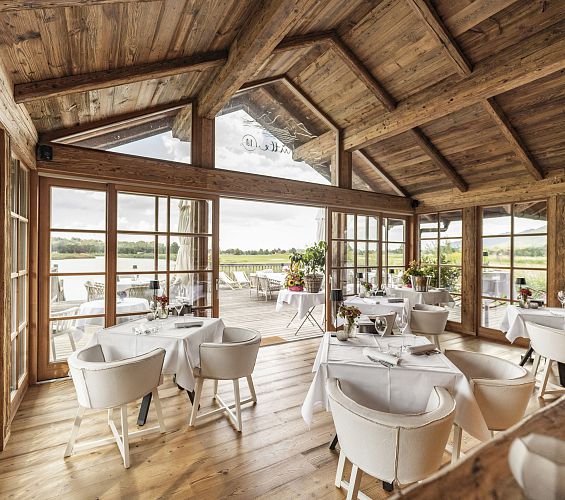
Situated right by the lake, the Seehütte10 is arguably Germany’s most beautiful halfway hut – an enchanting spot for snacks, quick coffee breaks, enjoying the view and hosting private events.
Read morePar 5 · HCP 6 – Long, fair, stunning views: the second shot sets the tone – place it cleverly, then play on to the green with ease.
Par 4 · HCP 18 – A straightforward par 4: a clean drive sets you up for an attackable approach.
Par 3 · HCP 12 – The pin position determines which club to use; dropping zone available – playing safely towards the centre of the green pays off.
Par 4 · HCP 14 – Strategy over power: Strategic bunkers characterise this hole, so it’s better to play it smart than to overshoot.
An option in two for long hitters; everyone else can play a relaxed three-piece set – the results speak for themselves.
Par 3 · HCP 16 – Compact, with a stream to the right and a dropping zone: control your height, hit the centre, and take the par.
Par 4 · HCP 10 – Position over distance: If you hit a good drive, you’ll have a comfortable approach to the green.
Par 4 · HCP 8 – A precise tee shot and a clever landing zone – then the flag remains within reach.
Par 5 · HCP 2 – Long hitters will find this a wonderful risk-reward hole.
Par 3 · HCP 13 – A fresh short hole on the back nine: dropping zone available; read the green, putt calmly and then head to what is probably Germany’s most beautiful halfway hut, Seehütte10, enjoy the halfway break.
Par 5 · HCP 5 – With a good view and a steady rhythm: if you place your second shot well, you’ll be set up for a comfortable approach shot.
Par 3 · HCP 11 – As the longest par 3, a par is a good score. Whilst water lies in wait on the left, the out-of-bounds area is on the right.
Par 4 · HCP 9 – Penalty area at Moosbach: A special course rule allows you to use the ‘mirror’ option for the point of intersection – make clever use of it!
Par 4 · HCP 1 – The most difficult par. A precise drive over the Moosbach is required.
Par 3 · HCP 17 – A hole to savour: choose the right club, take the flag position into account, and you might just manage a birdie.
Par 5 · HCP 7 Water dictates the strategy: move forward quickly, but with a plan – a lay-up takes the pressure off the third shot.
Par 4 · HCP 15 – Focus on the landing zone: if you work out the right angle to the green, you’ll stay stress-free.
Par 4 · HCP 3 – A finishing hole with a bit of a challenge: a dropping zone behind you, water in play – keep your cool and aim for the centre of the green.